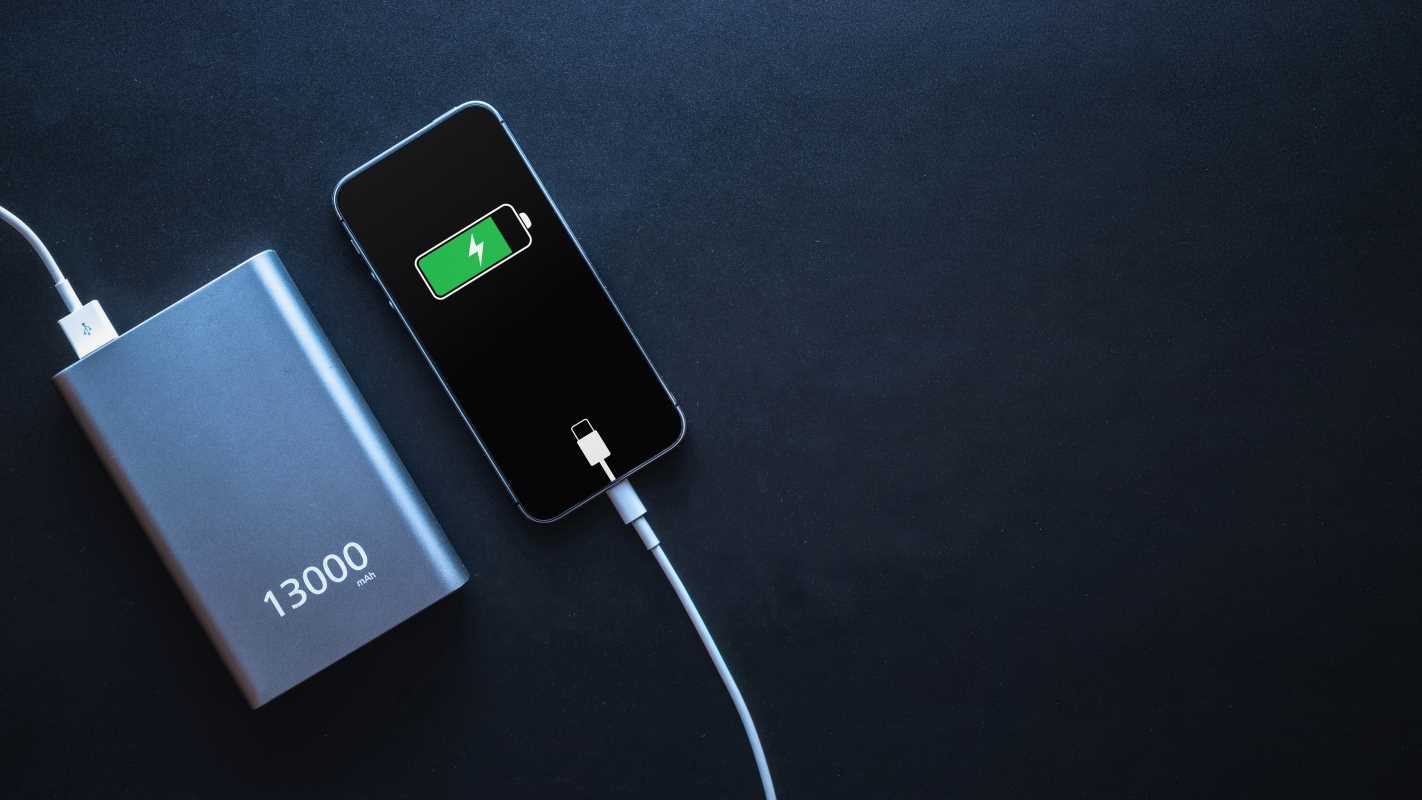
 (Image via
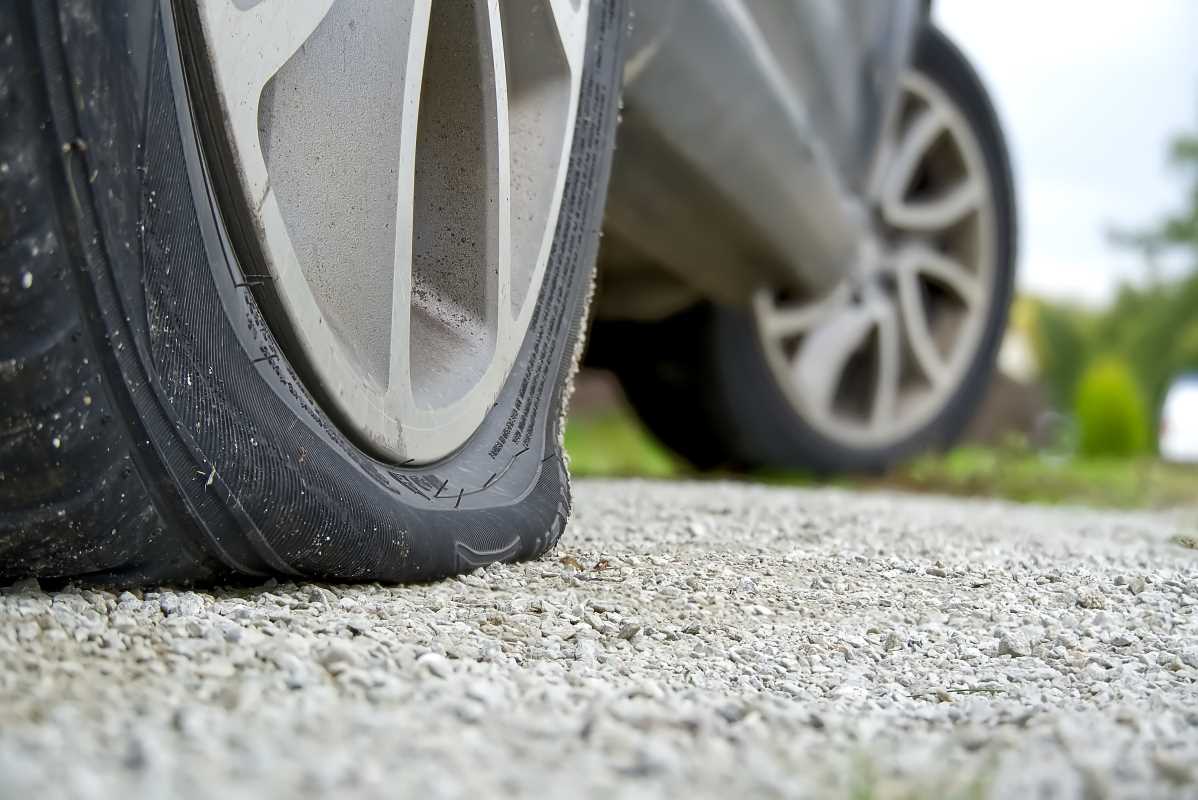
That dreaded sound. The rhythmic thump-thump-thump of a flat tire is a universal signal that your day is about to take a detour. Getting a flat tire can feel like a major disaster, especially if you’re on your way to something important or stranded on the side of a busy road. The idea of changing a tire can seem complicated and dirty, a task many people feel unprepared to handle. But what if there was a quick fix that could get you back on the road in minutes, without needing a jack or a lug wrench? Welcome to the world of tire sealant and inflator cans! This amazing product is a roadside rescue in a can, a temporary fix that can seal a puncture and reinflate your tire, allowing you to drive safely to a repair shop. Prepare to feel empowered and ready to handle one of life’s most common car troubles with confidence.
What is This Magical Can?
A tire sealant and inflator is an aerosol can that contains a double-duty formula. When you use it, two things happen at once. First, it injects a liquid sealant into your tire. This foamy substance is designed to coat the inside of the tire and plug up small punctures. Second, the can contains a compressed gas (the inflator) that reinflates your tire to a drivable pressure.
This tool is designed to be a temporary solution for small punctures in the tread of the tire, like those caused by a nail or a screw. It's not meant for large gashes, sidewall damage, or blowouts. Think of it as a high-tech bandage for your tire that gets you out of a dangerous spot and on your way to a professional repair. Having a can of this in your trunk is one of the smartest and easiest ways to prepare for a roadside emergency.
How to Use a Tire Sealant and Inflator
Using a tire sealant can is incredibly straightforward. While you should always read the specific instructions on the can you have, the process is generally the same. Here's your step-by-step guide to becoming a flat-tire-fixing hero.
Step 1: Safety First!
Before you do anything, your safety is the top priority. As soon as you realize you have a flat, slow down and pull over to a safe location. Get as far off the road as you can and turn on your hazard lights (your flashers). If you have a safety vest or road flares, now is the time to use them.
Step 2: Locate the Puncture (If Possible)
Inspect the tire to find the source of the leak. If you can see a nail or a screw, do not pull it out! The sealant is designed to work around the object and plug the hole. Pulling the object out might make the hole too large for the sealant to fix effectively. If you can, try to position the tire so that the puncture is at the bottom. This helps the sealant pool around the hole as it goes in.
Step 3: Prepare the Can and Tire Valve
Get your can of tire sealant and inflator from your trunk. Give it a good shake for about 30 seconds to mix the contents properly. Next, unscrew the cap from the tire's valve stem. This is the same valve you use to put air in your tires at a gas station. Keep the cap somewhere safe, like your pocket, so you don’t lose it.
Step 4: Attach the Nozzle and Inflate
The can will have a hose or nozzle. Firmly screw this nozzle onto the tire's valve stem. Make sure it's on tight to create a good seal.
Once it's attached, press the button on the top of the can to release the contents into the tire. You’ll hear a hissing sound as the sealant and inflator go to work. Keep holding the button down until the can is completely empty. You'll see the tire start to inflate. It may not look fully inflated right away, but it should be firm enough to drive on.
Step 5: Drive to Distribute the Sealant
This is a very important step. As soon as the can is empty, unscrew the nozzle, put the valve stem cap back on, and immediately start driving. You need to drive for about 5-10 minutes at a moderate speed (around 20-30 mph). This uses the tire's rotation to spread the liquid sealant evenly around the inside, ensuring it finds and seals the puncture. You might feel a bit of a wobble at first as the sealant distributes itself, but this should smooth out quickly.
Step 6: Head to a Tire Shop
After your short drive, the sealant should have done its job. Your tire is now temporarily fixed. This is not a permanent solution. The fix is designed to get you to a tire repair shop or a mechanic safely. Drive cautiously and avoid high speeds. When you get to the shop, make sure to tell the technician that you used a tire sealant. This helps them take the proper steps to clean and professionally repair or replace your tire.
Why You Should Have This in Your Car
A can of tire sealant is an invaluable addition to any car's emergency kit. Here's why it's such a great tool to have:
- It's Fast and Easy: The entire process takes less than 15 minutes and requires no special tools or physical strength.
- It's Safer: It allows you to quickly get your car off the side of the road, reducing your exposure to traffic.
- It's a Space Saver: For cars that don't come with a spare tire, this product is a factory-included necessity. Even if you have a spare, this can be a much quicker and easier fix.